Table of Contents
- Getting a Google Business Messages account
- Connecting to Google Business Messages
- Launching Google Business Messages Channel
- Managing Google Business Messages Locations
- Channel Configuration
- FAQ and Troubleshooting
- Why does an error occur while writing a message using Quick Reply?
- Why can’t I see the Message Button after launching Google Business Messages?
- Is it possible to connect different Google Business profiles to a single respond.io account?
- Can I edit or change the Agent ID or Agent Name?
- Can I add and remove locations after connecting to the Channel?
- How do I turn off Google Chat in my Google Business Profile?
- Can I connect and launch a location that is verified or already connected to other platforms or workspaces?
Google Business Messages Quick Start
 Updated
by Susan Swier
Updated
by Susan Swier
- Getting a Google Business Messages account
- Connecting to Google Business Messages
- Launching Google Business Messages Channel
- Managing Google Business Messages Locations
- Channel Configuration
- FAQ and Troubleshooting
- Why does an error occur while writing a message using Quick Reply?
- Why can’t I see the Message Button after launching Google Business Messages?
- Is it possible to connect different Google Business profiles to a single respond.io account?
- Can I edit or change the Agent ID or Agent Name?
- Can I add and remove locations after connecting to the Channel?
- How do I turn off Google Chat in my Google Business Profile?
- Can I connect and launch a location that is verified or already connected to other platforms or workspaces?
Getting a Google Business Messages account
To connect to a Google Business Messages Channel you will need a Google Business profile.
Connecting to Google Business Messages
Watch the video below for a step-by-step guide on How to Connect Google Business Messages to respond.io.
To chat with your customers over Google Business Messages, connect a Google Business Profile with a verified business location to respond.io.
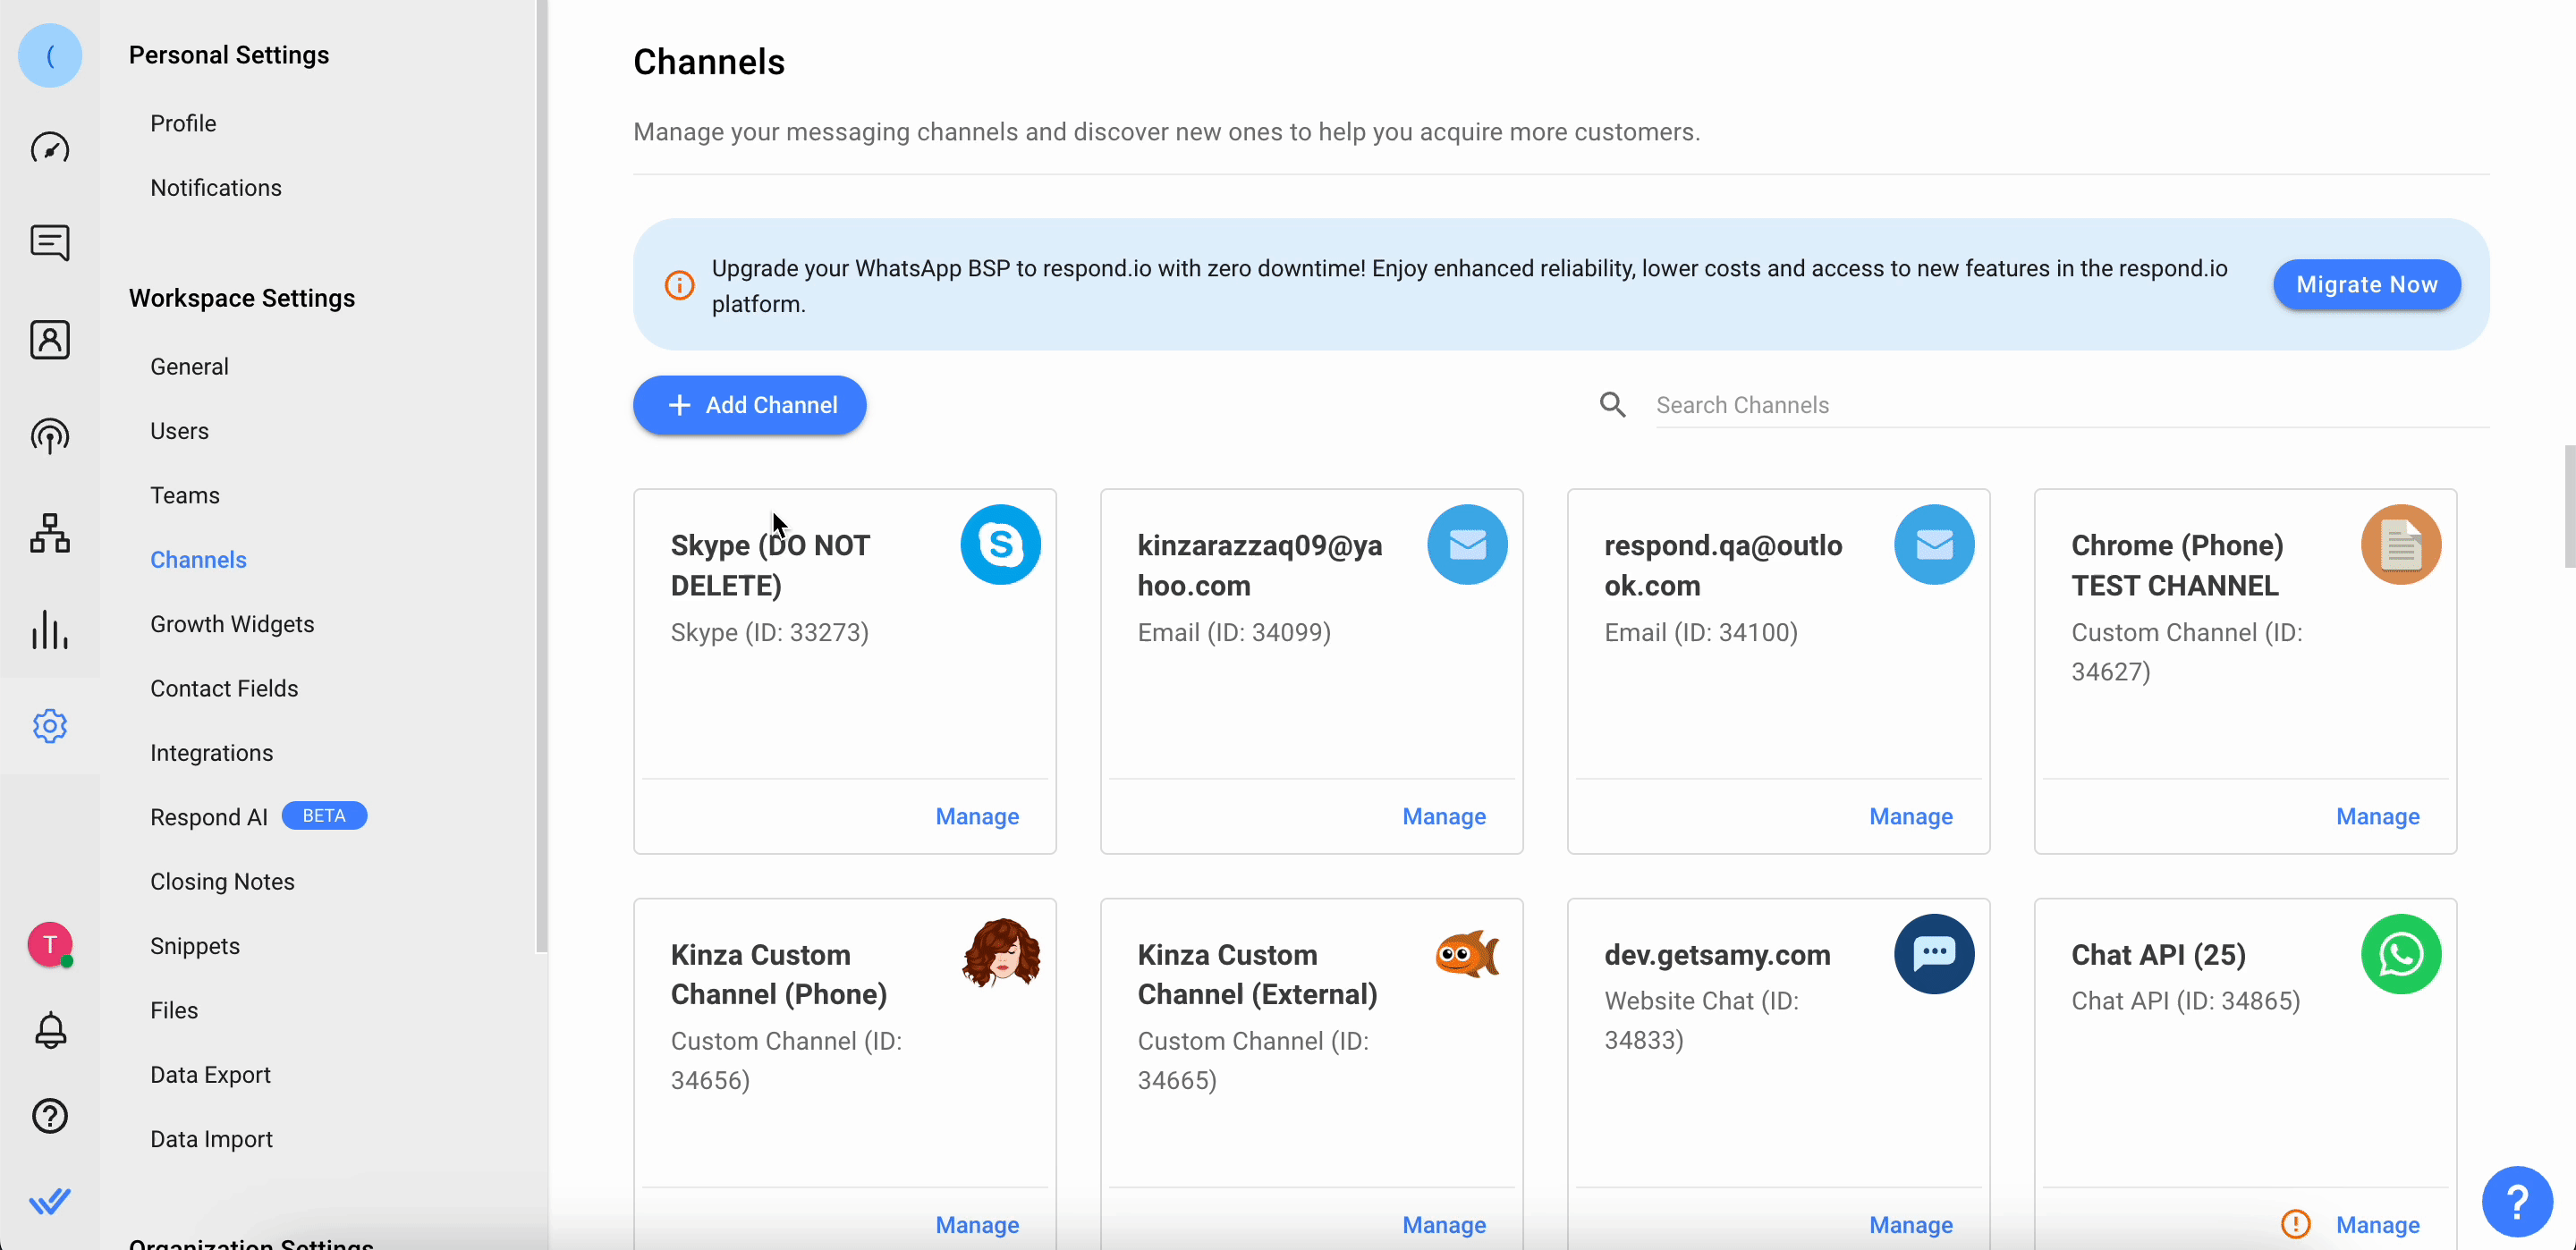
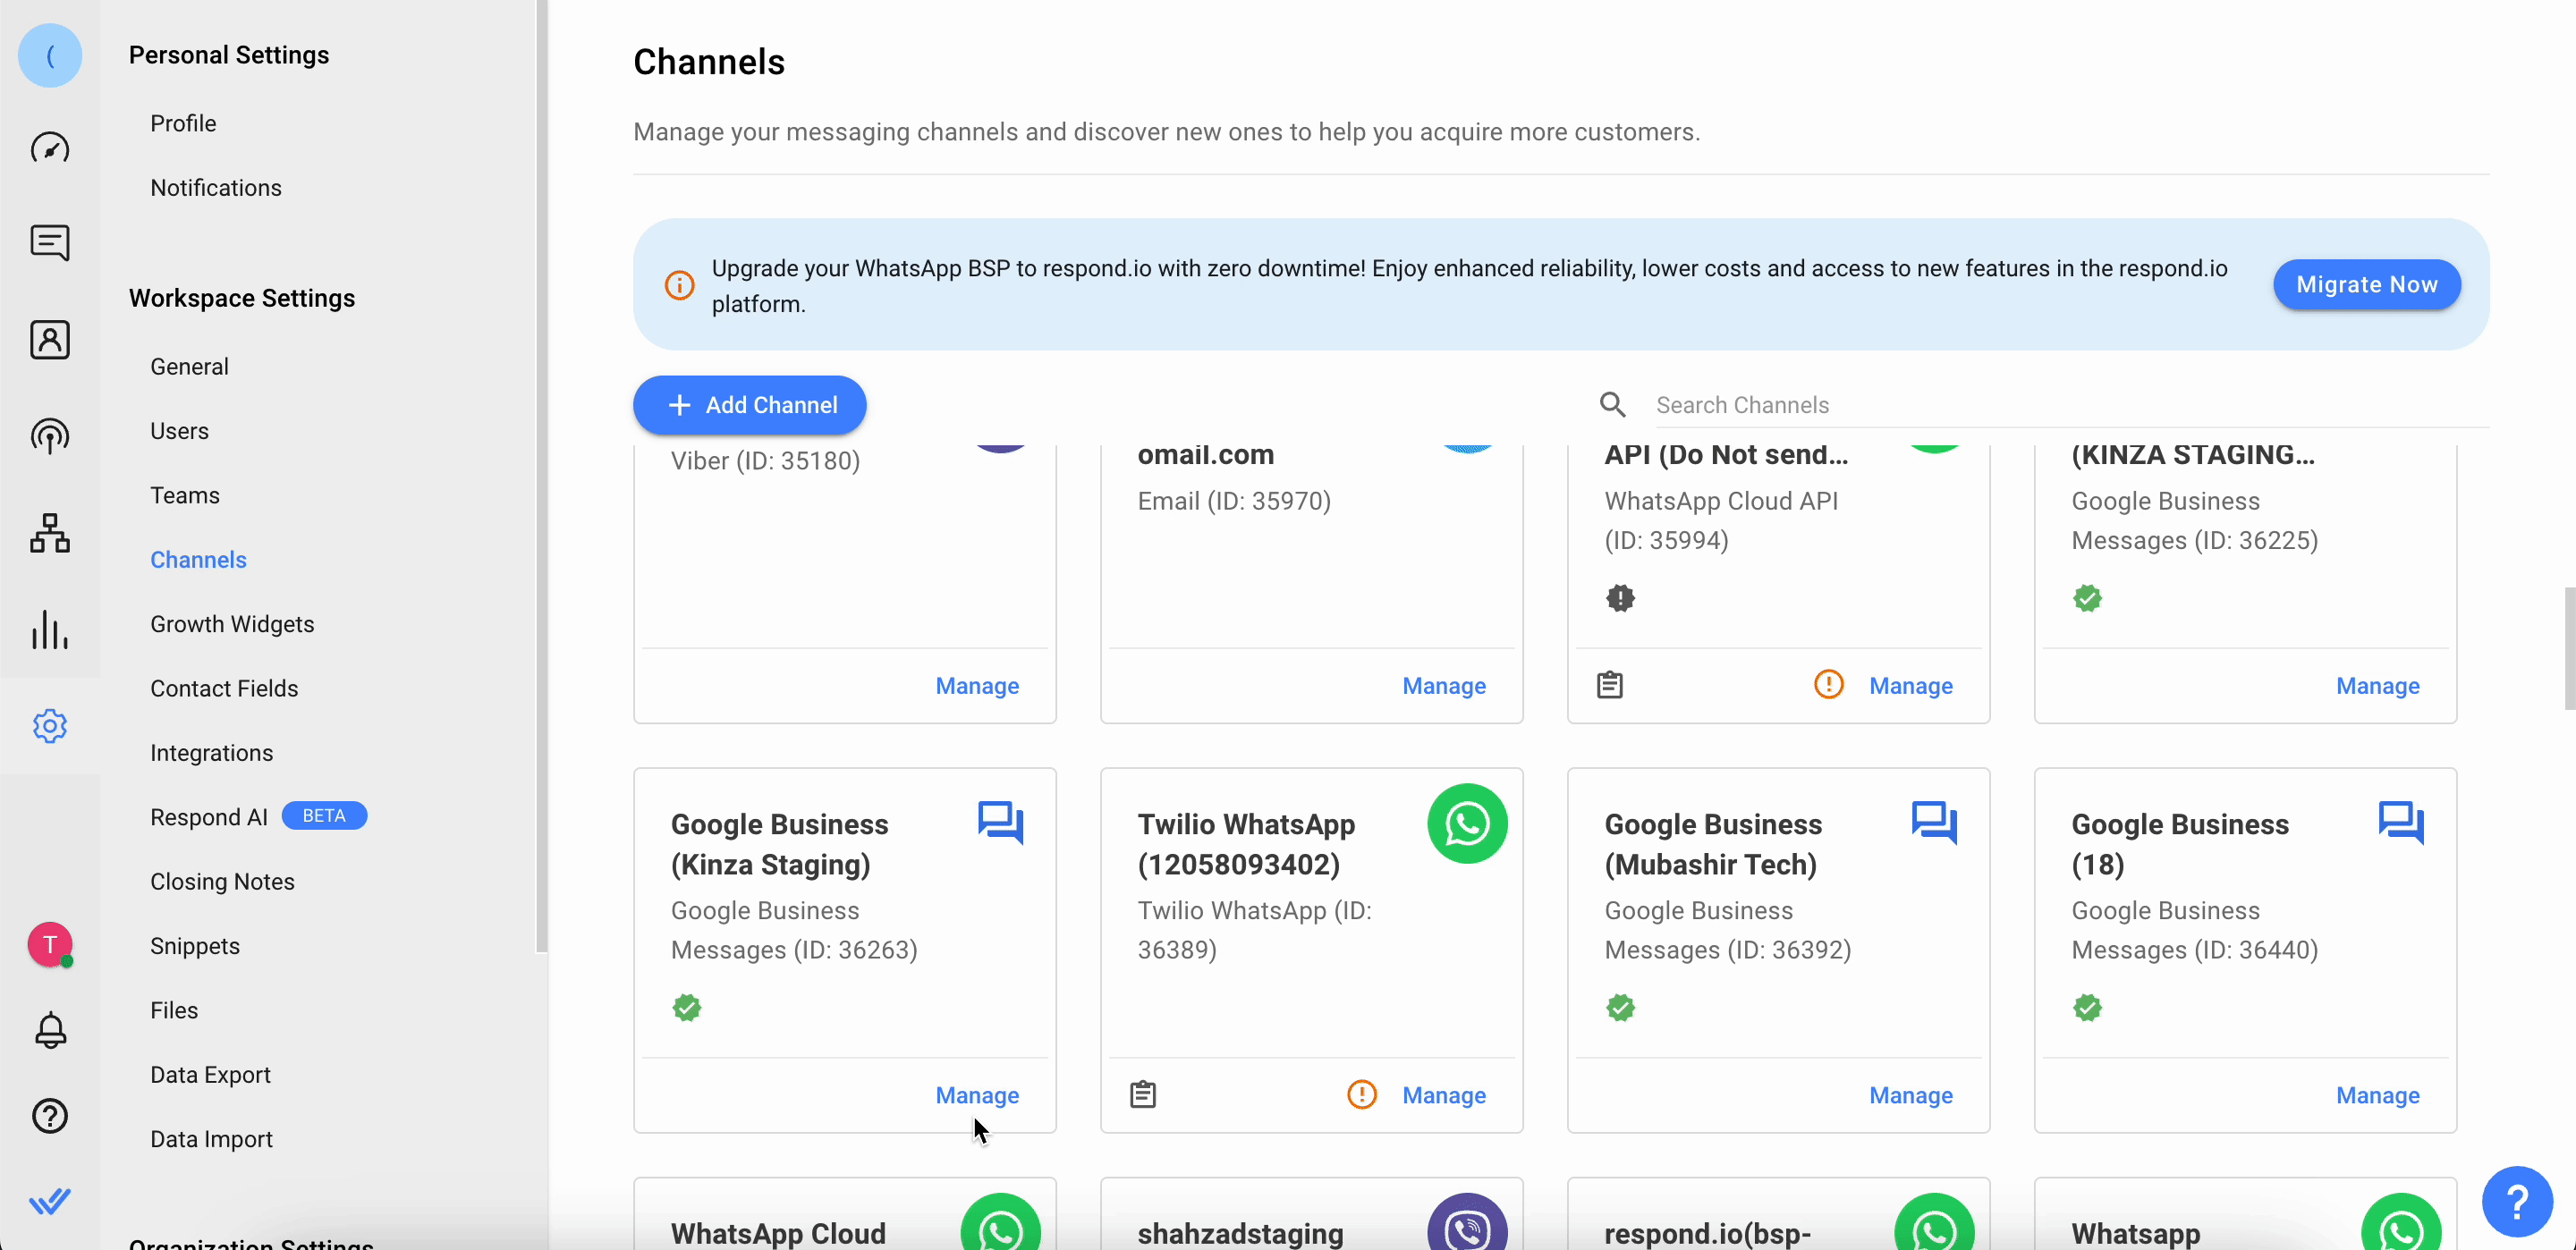
Step 1: Click Settings > Channels
Step 2: Click Add Channel > Google Business Messages > Connect
Step 3: Click Connect with Google
Step 4: Under Business Profile, input your basic business information and contact details > click Next
You will need to provide the following information:
Field | Description |
Agent Name | This should match your Google Business Profile Listing company name. The agent name will be shown in the Google Business Messaging chat application to your users. |
Website | valid URL with https:// |
Privacy Policy URL | valid URL with https:// |
Contact Name | Your or the representative’s name. |
Email Address | Your or the representative’s email address. |

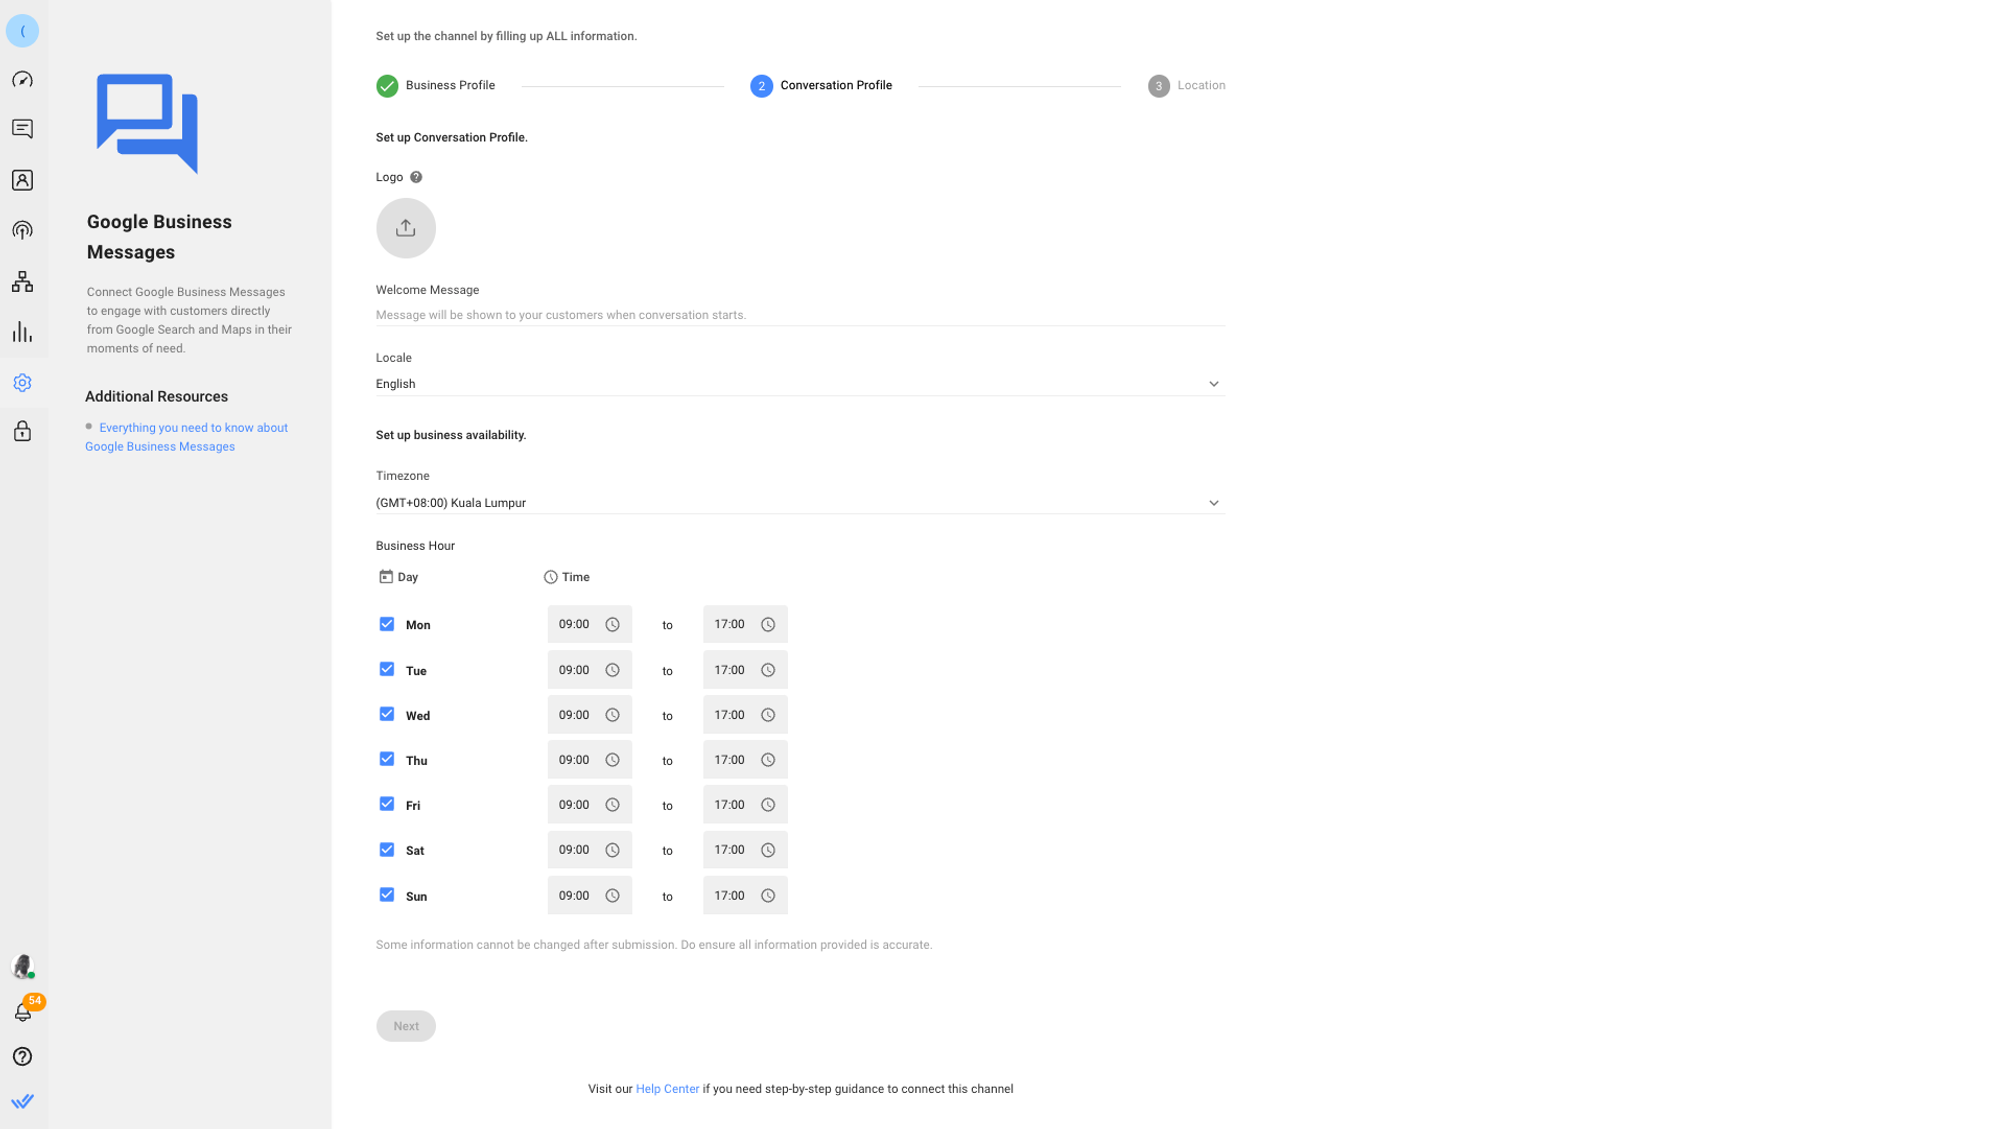
Step 5: Under Conversation Profile, input additional information about your business > click Next
You will be asked to input the following information:
Field | Description |
Logo | Your company’s logo that matches the logo on your Google My Business account, which will be displayed in the Google Chat as a 1024px diameter circle. File size: Max 50KB. Make sure that your logo displays well as a circle. |
Welcome Message | Your Business inbox welcome message to your customers. Maximum length: 10,000 characters |
Locale | Your business supported language. |
Timezone | Your business timezone. |
Business Hours | Your business operation days and hours. |
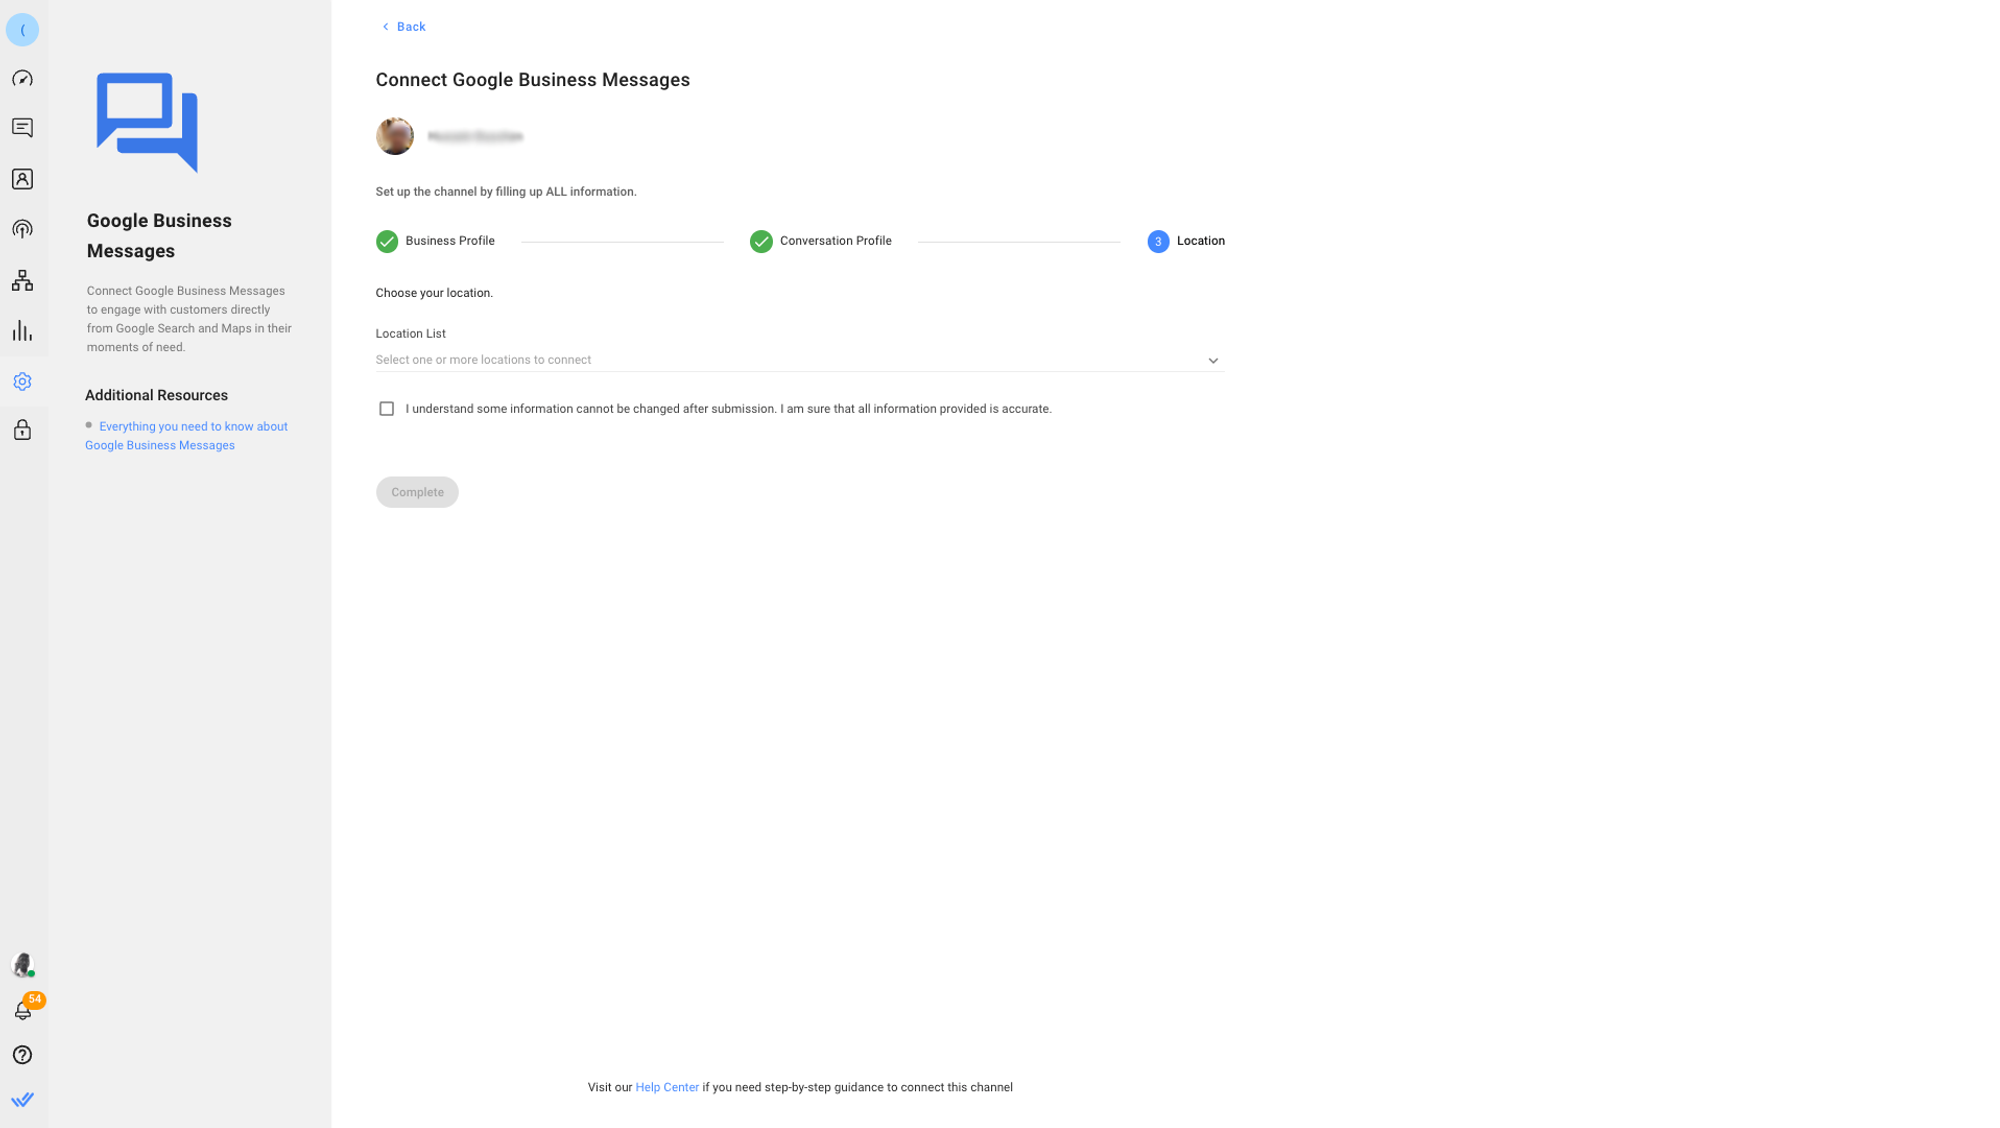
Step 6: From the Location List dropdown, select all the locations you have added in your Google Business Profile > click Complete
Launching Google Business Messages Channel
Before customers can communicate with your agent you must launch your Business Messages Channel. Follow the steps below to launch your Channel.
Step 1: From Settings > Channels
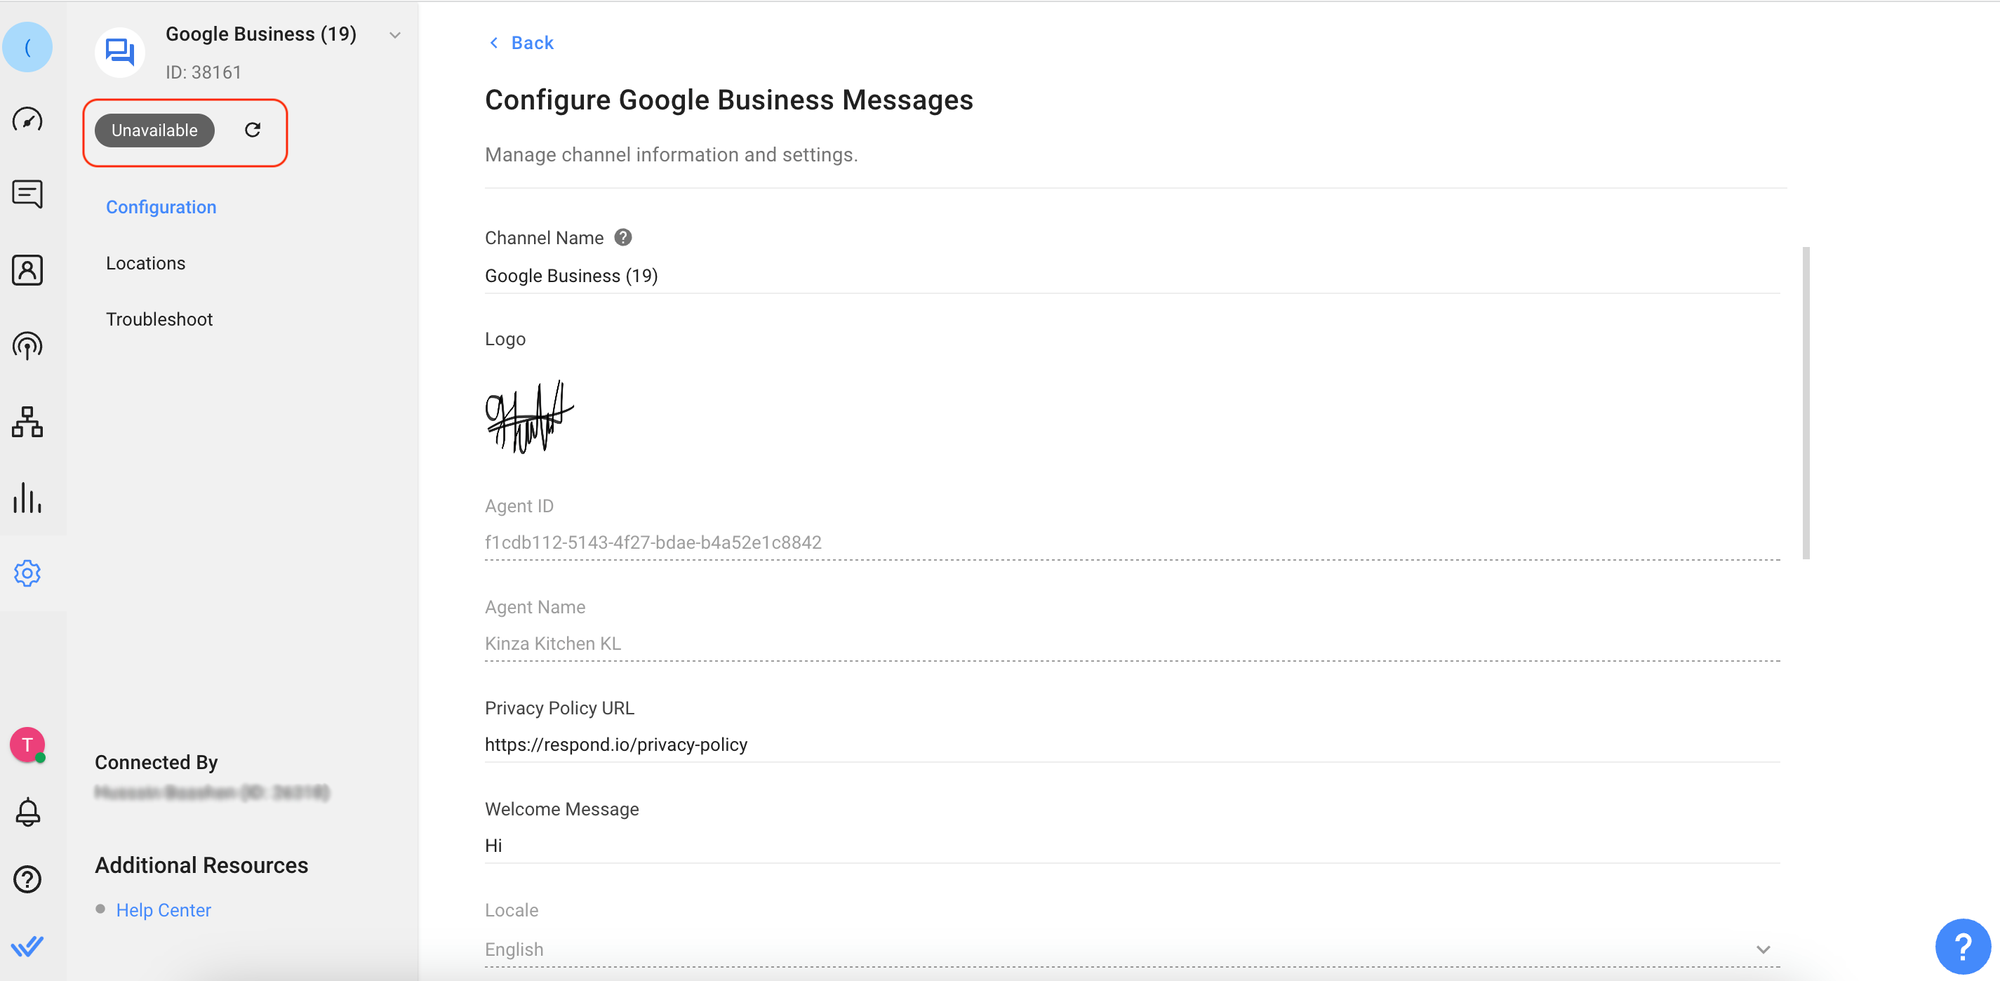
Step 2: Locate the Google Business Messages Channel > Manage > click the refresh icon next to Unavailable
Step 3: Click the Launch button to launch your page.
Managing Google Business Messages Locations
Here you can add, launch or unlaunch your Google Business Messages location.
Step 1: Click Settings > click Channels
Step 2: Locate your Google Business Messages Channel > Manage > click Locations
There are three possible statuses for added locations:
- Verified: Once a location is verified and the location has not yet been launched.
- Launched: This location has been successfully launched.
- Unlaunched: This location has been successfully unlaunched.
Channel Configuration
You can configure your Google Business Messages channel to have a unique channel name, a Welcome Message and also specify your business hours. Follow the steps below to configure your Google Business Messages channel.
Step 1: From the Settings Module > Channels
Step 2: Locate the Google Business Messages Channel > click Manage > Configuration
Step 3: In the Configure Google Business Messages page you will see the following configurations:
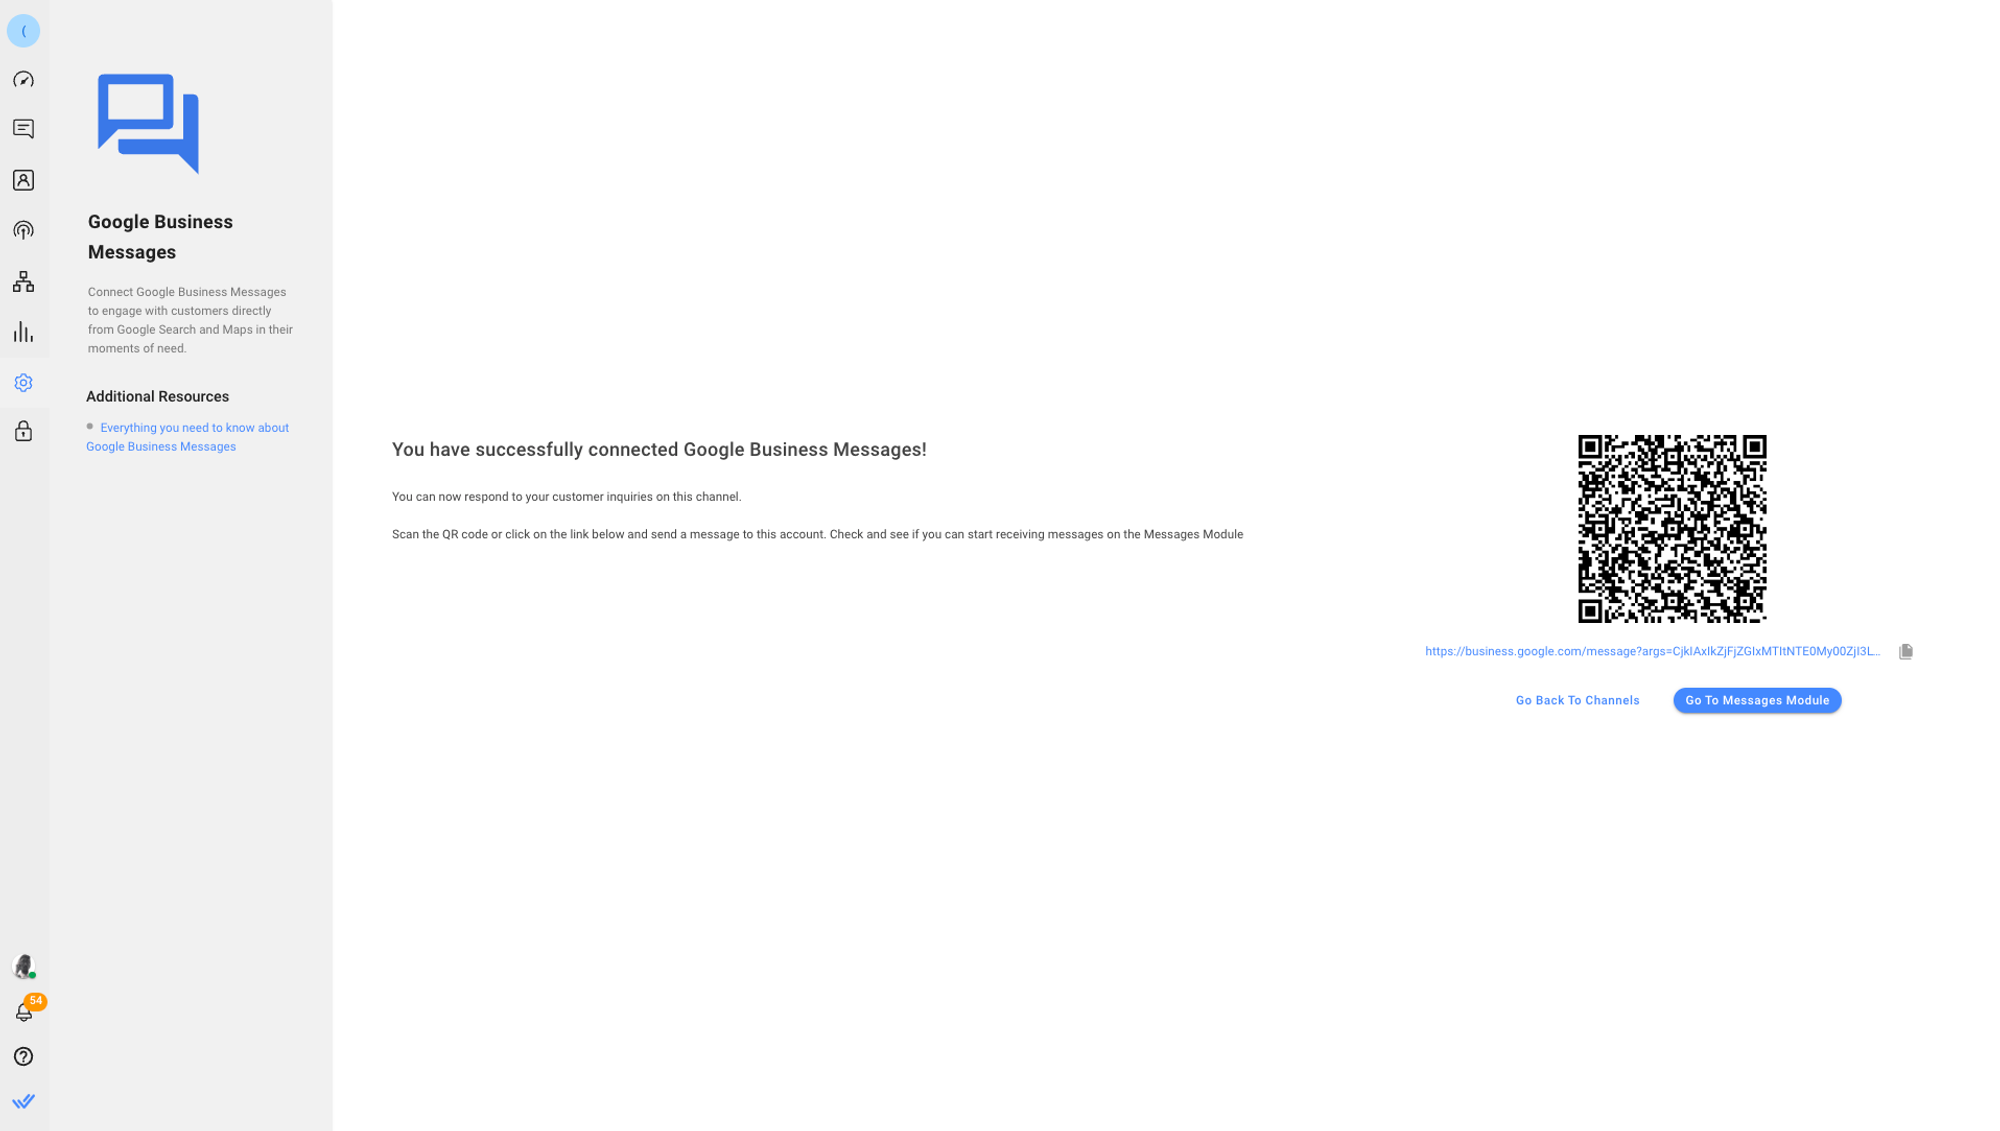
- Chat Link - A click-to-chat link is a shortened URL that directs customers to start or continue a conversation with your Google Business Messages account. You can share this link to refer customers to a new or existing thread, based on whether the user has previously messaged your Google Business Messages account. You can also generate a QR code to share the chat link to your Contacts.
- Channel Name - The Channel Name can be changed and is used internally to identify the Channel.
- Privacy Policy URL - A URL that links to the privacy policy page of your business.
- Welcome Message - A short welcome message that will be displayed to your customers.
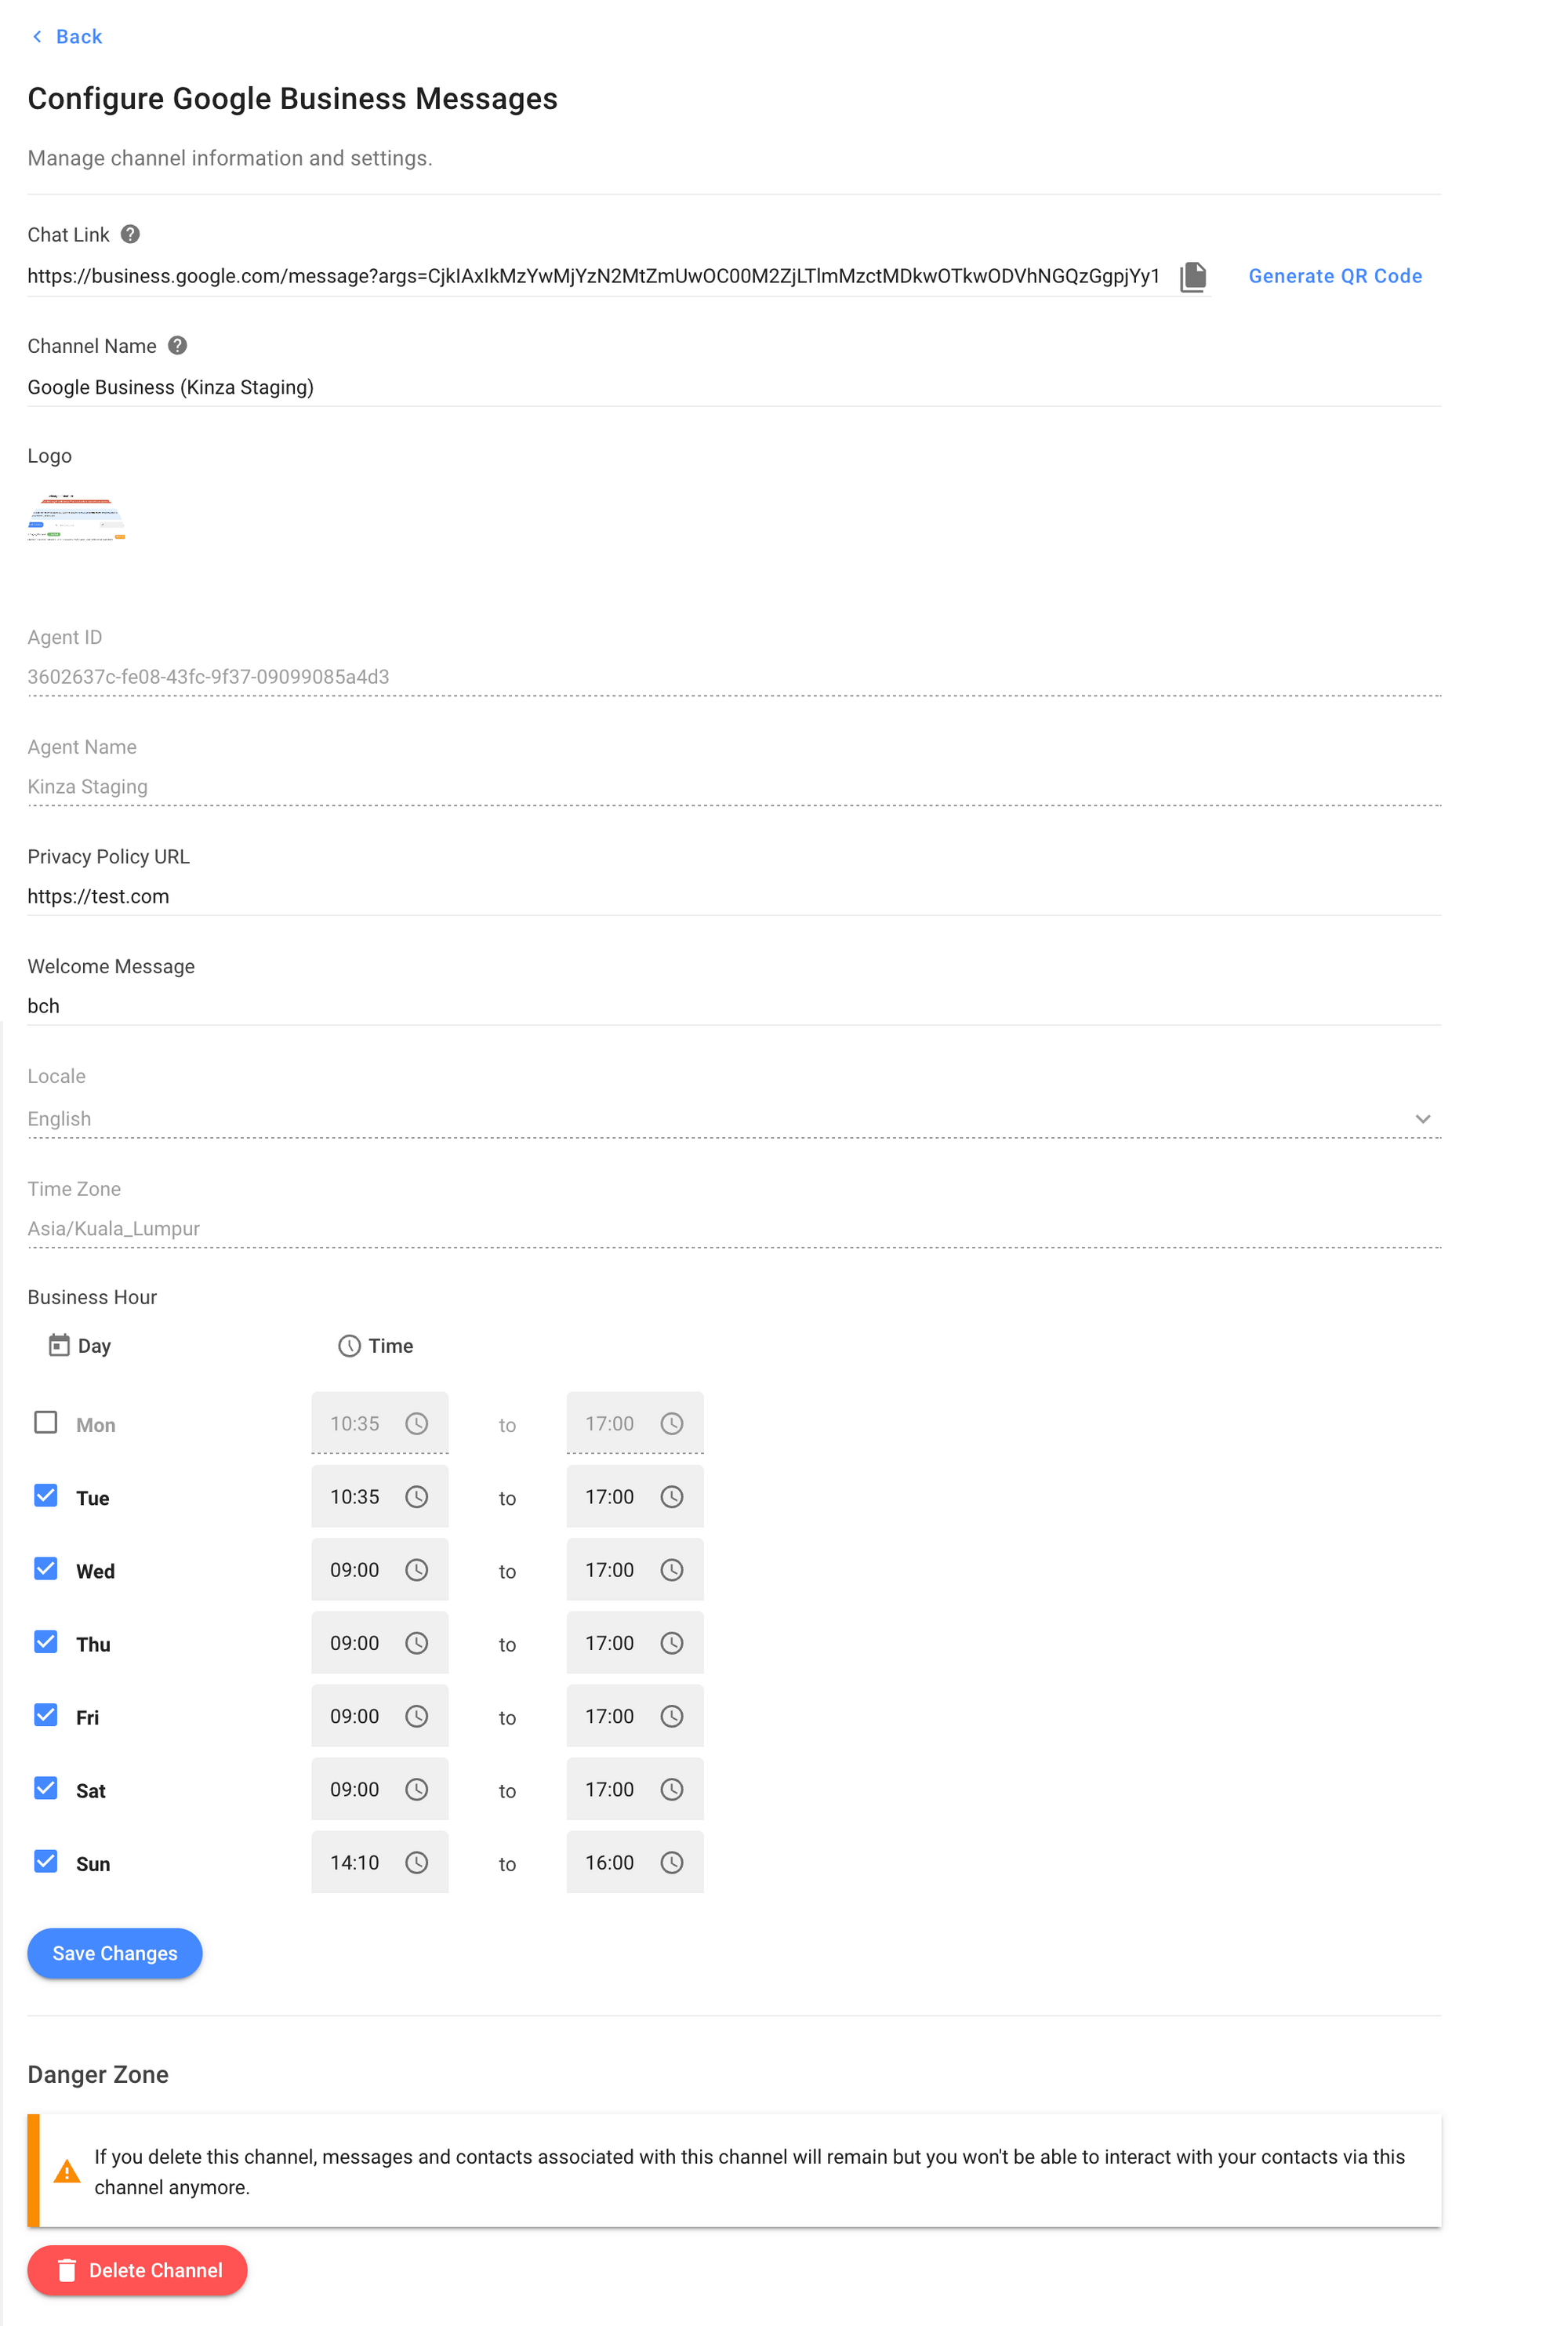
Step 4: Click Save Changes to update the Channel configuration.
FAQ and Troubleshooting
Why does an error occur while writing a message using Quick Reply?
The Quick Reply feature only allows up to 25 characters. When your message exceeds the limit, an error from the channel is generated.
Why can’t I see the Message Button after launching Google Business Messages?
Google Business Messages only works on mobile devices and native Google applications. If you launch your Channel by clicking Launch Immediately, it may take up to 5 hours for Google to update the Google Search and Maps for the Message button to become visible. This launch time may also differ per device.
Is it possible to connect different Google Business profiles to a single respond.io account?
Yes, you can create multiple Channels connected to Google Business Messages; each can be connected to a different Google Business Profile. Additionally, you may connect different locations under your Google Business Profile.
Can I edit or change the Agent ID or Agent Name?
No, you cannot. All three fields of Agent ID, Agent Name, and Brand Name are non-editable. You must input these three pieces of information correctly when initially connecting the Channel. If you have added the wrong Agent ID or Name, you may delete the Channel and create a new one with the correct information.
Can I add and remove locations after connecting to the Channel?
Yes, you can add, launch, and unlaunch locations through the Channel Configuration tools.
How do I turn off Google Chat in my Google Business Profile?
Turn off your Google Chat to receive incoming messages on the platform instead of Google Chat.
- Access your Google Business Profile (search "my business"), click View Profile
- Click Messages from the menu
- Select Turn off chat in the top-right corner
Can I connect and launch a location that is verified or already connected to other platforms or workspaces?
You can connect to a verified location or one that is linked with other platforms or workspaces. However, launching is not possible if it is already active elsewhere. In such cases, an error message will be displayed. To proceed, you must manually unlaunch the location from its current active platform or workspace before attempting to launch it in the new environment.